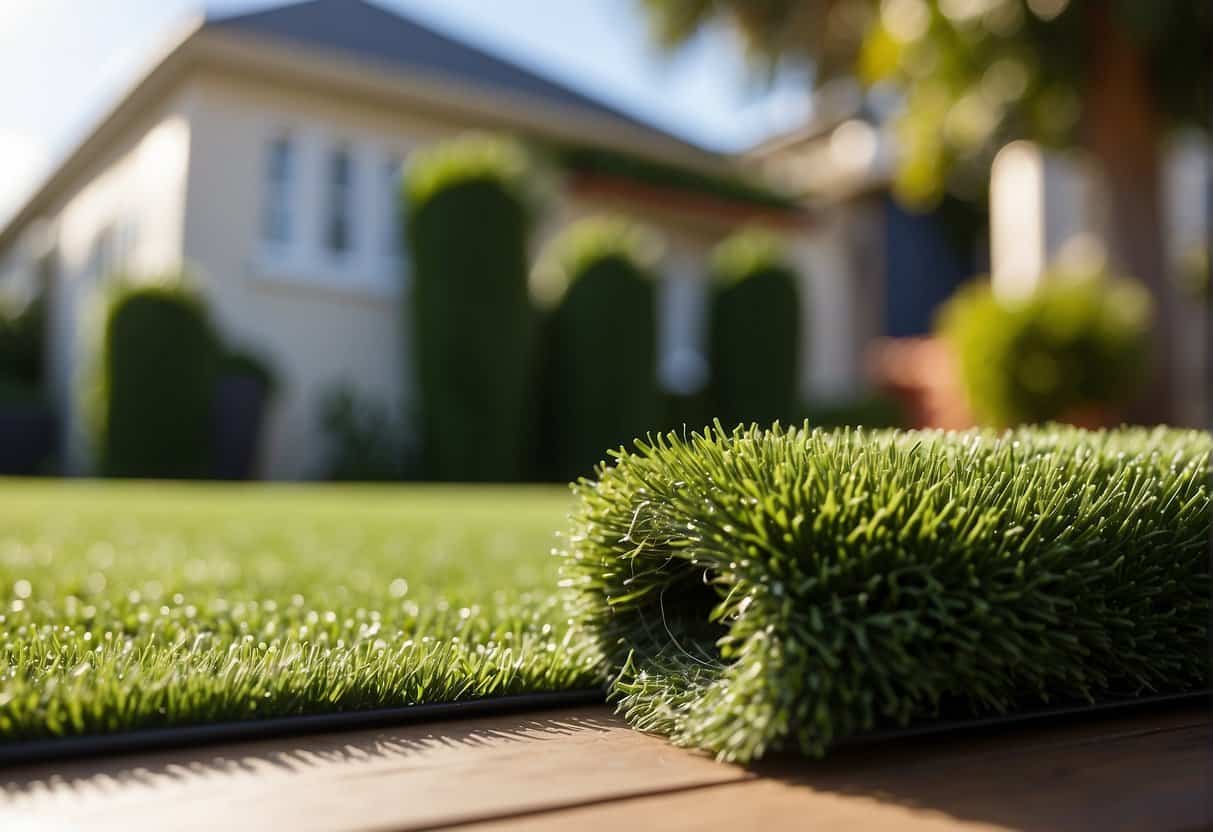
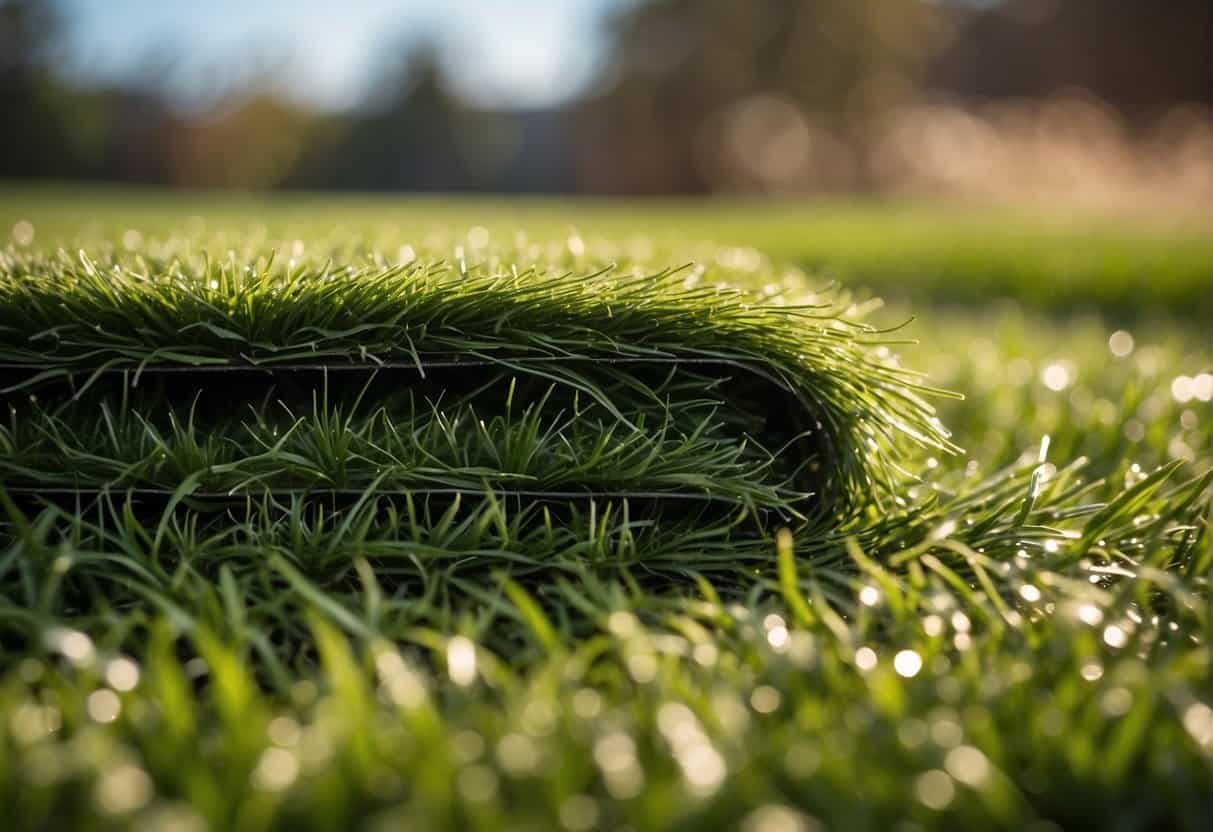
Imagine swapping your lawnmower for leisure time and still boasting the greenest lawn on the block. Artificial grass is your ticket to an evergreen world with zero mowing. Perfect for urban dwellers or those seeking a slice of green without the fuss, synthetic turf opens a door to effortless outdoor charm.
Taking on the installation of synthetic turf may feel like venturing into unknown territory, but with a few pro tips up your sleeve, you’ll navigate this DIY landscape with ease. The right preparation, a handful of tools, and an eye for detail can turn a daunting task into a weekend’s triumph.
Pros and Cons of Artificial Grass
When you’re considering the lush spread of green without the usual weekend yardwork, artificial grass might seem like a great option. But before you take the plunge, it’s worth weighing up the pros and cons.
Pros:
- Maintenance: With artificial grass, you can say goodbye to regular watering, mowing, weeding, and fertilising. It’s a low-maintenance option that leaves you more time to enjoy your garden rather than working in it.
- Water Conservation: Considering Australia’s dry climate, artificial grass helps conserve water, which is both environmentally and economically beneficial.
- Durability: Synthetic turf is known for its durability and can withstand heavy use without getting worn out, making it ideal for pets and play areas.
- Evergreen Appearance: Looks lush year-round, regardless of weather.
Cons:
- Heat Retention: It can get quite hot underfoot in direct sunlight, an aspect to consider during scorching summers. Some varieties are cooler, though, so look for those if heat is a concern.
- Environmental Impact: Not all artificial grass is environmentally friendly, so if this matters to you, seek out eco-friendly options.
- Installation: Laying it down might seem straightforward, but there’s skill involved. If you’re not willing to put the time in, professional installation can add to the cost.
- Aesthetic Differences: May not look or feel exactly like real grass.
Each aspect is worth your consideration as you weigh up artificial grass for your outdoor space.
Planning and Design
Before diving into your DIY project, remember that good planning and design are the bedrock of a successful artificial grass installation. You need to accurately gauge the space and select an appropriate turf, rounding it all up with the necessary tools and materials.
Assess Your Space
Your first move is to measure the area where your new artificial grass will be laid. Understanding your space’s exact dimensions is crucial, helping you to purchase the correct amount of artificial grass.
It’s recommended you go around your yard with a tape measure and sketch up the dimensions. Take special care to note the shape and any unique features of your garden, such as slopes or odd angles.
Choose Your Artificial Grass
When selecting your artificial grass, consider the pile height (the distance from the base of the artificial grass to the top of the grass fibres), density, and colour – as these will impact both the look and feel of your garden. Choose a turf that fits your aesthetic desires and functional needs.
For example, if you have high foot traffic areas, you’ll want more durable grass with a shorter pile height. This is because foot traffic could flatten out grass with a long pile height making it look less aesthetically pleasing.
Go too short though, and you run the risk of your yard looking more like a sports surface or carpet. Typically, most homeowners opt for a pile height between 25 and 45mm.
Gather Required Tools and Materials
Having the right tools at hand is essential. Here’s a basic list of what you’ll need:
- Tape measure
- Utility knife
- Joining tape
- Nails
- Hammer
Also, collect all materials required such as weed barrier fabric, crushed stone or sand for the base, your infill material, and the turf itself. Preparation is key, so ensure everything is ready before you start.
Site Preparation
Before you lay your artificial grass, proper site preparation is crucial to ensure longevity and optimal performance. Each step requiring careful attention to detail will pave the way for a successful installation.
Remove Existing Grass
Firstly, you need to clear the area where your synthetic turf will be laid. This involves removing any existing grass, plants, or debris. You can use a Pick or a spade to help you strip away the top layer of lawn and roots.
Be thorough; remnants of organic material can cause issues later on.
Ensure Proper Drainage
It’s essential to assess and modify the ground for adequate drainage. Proper drainage is critical to prevent waterlogging and maintain the durability of your synthetic lawn.
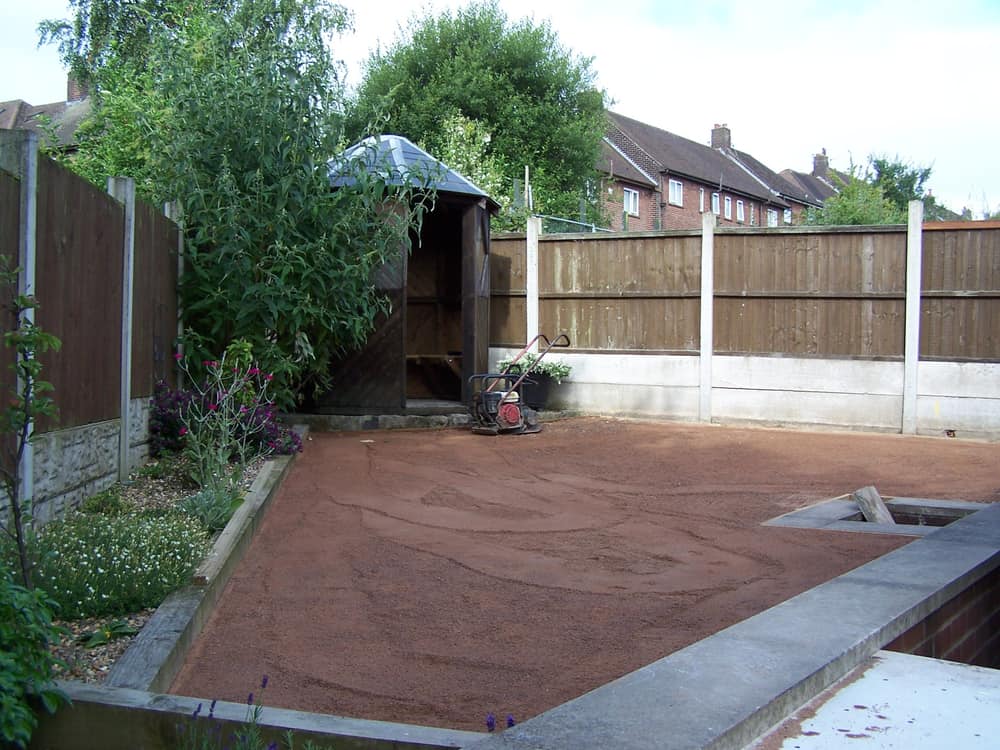
Excavate the area to around 70–100mm in depth from the desired finished ground height and check the ground has a slight slope away from buildings or the centre to aid water runoff.
Level and Compact the Base
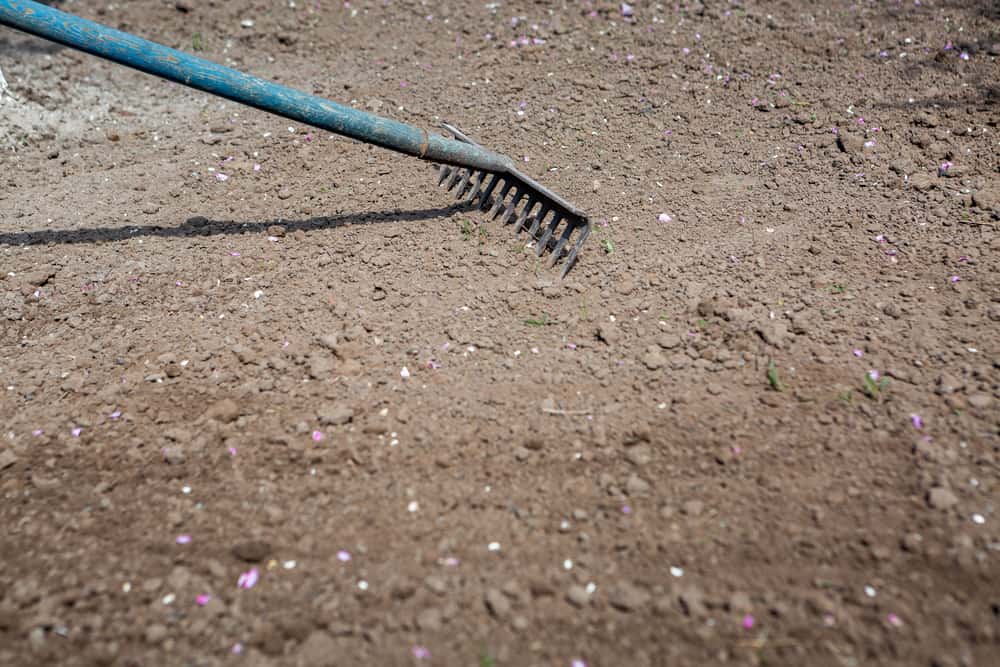
Finally, you need to create a sturdy and level base. Spread a layer of crushed rock, road base, or compacted sand and rake it evenly, checking with a level. Then, wet and compact the area using a plate compactor.
This process provides a smooth and impermeable foundation for your artificial grass, which is essential for a professional finish.
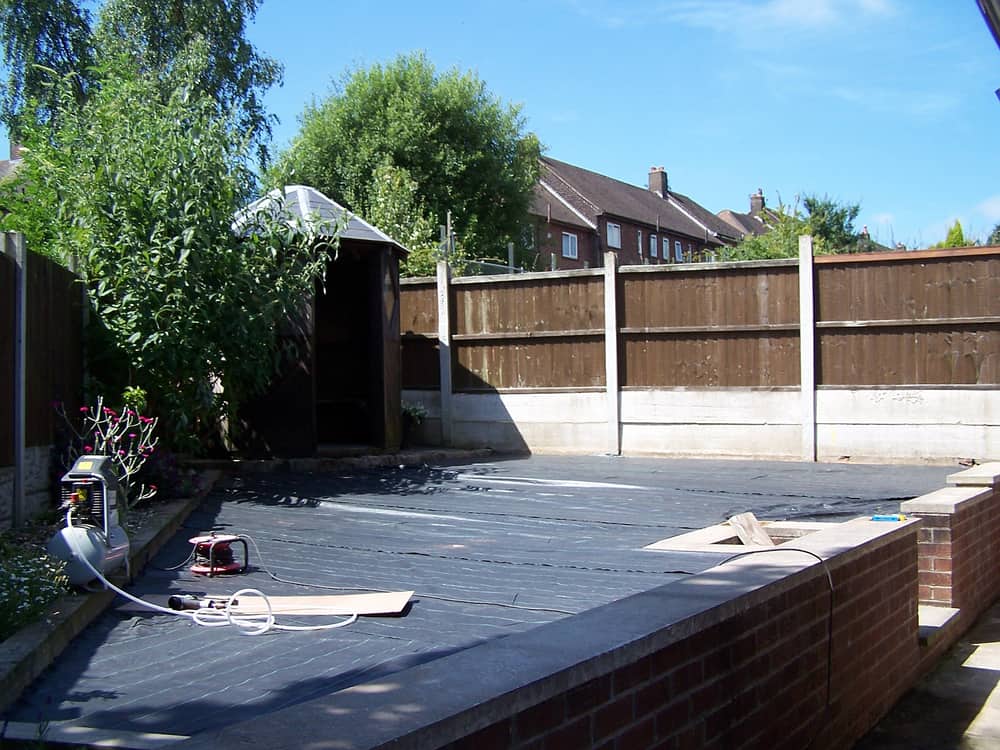
Lay a Weed Barrier
After the ground is prepared, you can choose to do the optional step of laying a weed barrier. Whilst this step isn’t necessary for the installation, it will save you the hassle of having unwanted growth through your surface down the road.
Ensure the barrier overlaps by 100mm at the edges and is firmly in place. You can choose to install the weed barrier at this stage, or beneath the base layer from the previous step.
Installing the Artificial Grass
Before jumping into laying out your artificial grass, remember that proper preparation of the base is essential. Your grass needs to be rolled out, trimmed, secured and joined correctly for a polished look.
Lay Out the Grass
Roll out your artificial turf onto the prepared and levelled area. It’s important to let it settle for a couple of hours, preferably in full sunlight, to remove any wrinkles or folds.
Make sure you always roll the turf out in the same direction, with the blades of the grass all pointing the same way for a natural appearance.
Trim Edges
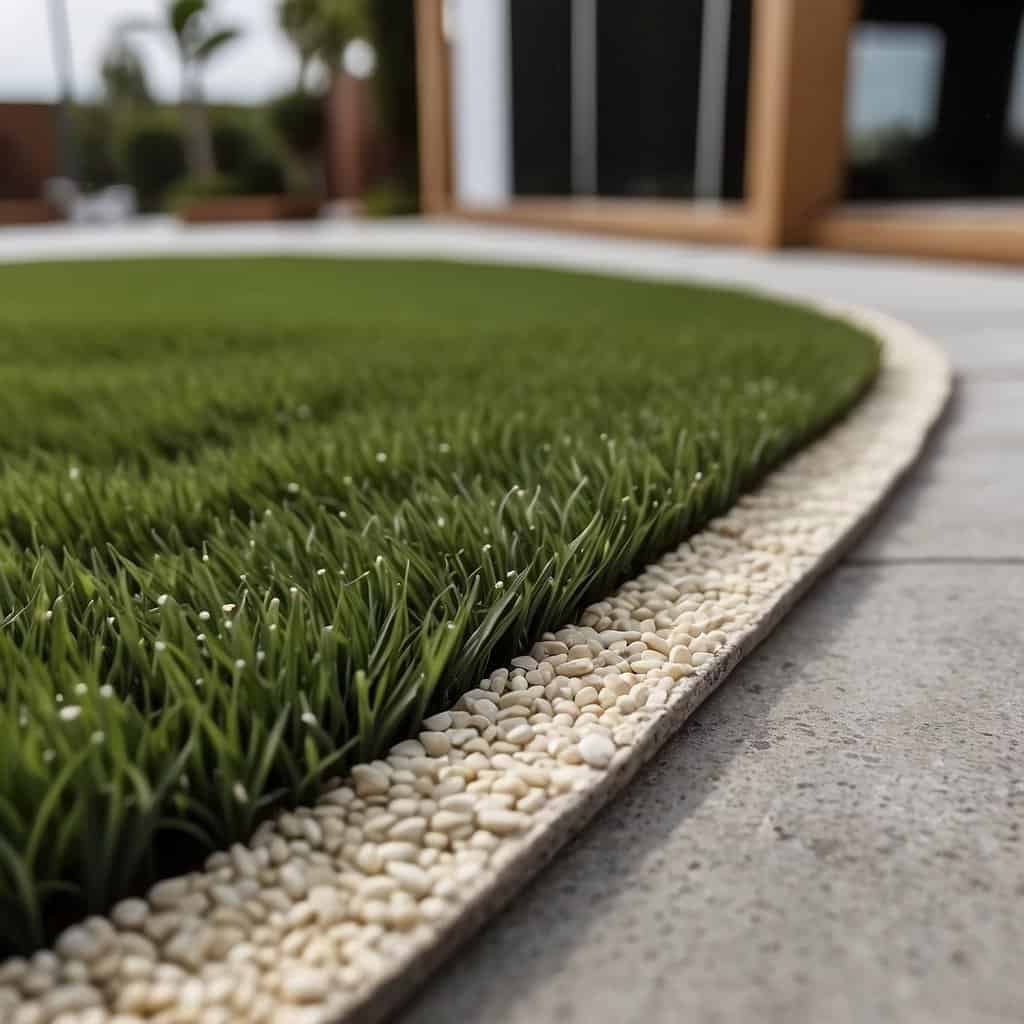
Using a sharp knife, trim the edges of your artificial grass. Ensure that you cut closely to the stitch lines for a neat finish. Be meticulous during this step to avoid visible seams or misalignments.
To ensure a neat join between two lengths of turf, cut one to two rows off each side of the turf along the join, this will help them blend into each other once secured in place
Join Seams Together
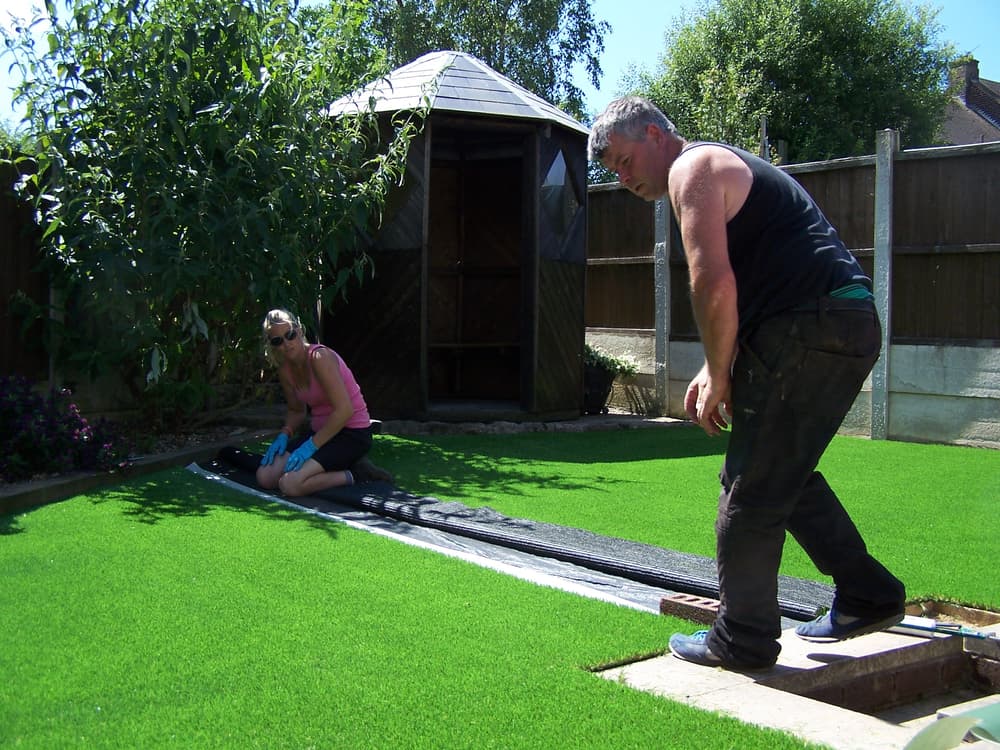
If your installation covers a wide area, you’ll need to join the seams together. To do this properly, place joining tape beneath the edges and remove the film to expose the adhesive surface.
Make sure the grass has been laid out perfectly before joining, this means it is evenly sitting against all edges and there are no overlaps or folds. Take some time here to make sure you get this right so you don’t have to come back and redo the joining later.
Press the seams together evenly to avoid any visible lines, remembering to trim the one to two rows off the edges before joining as mentioned above.
Secure the Artificial Grass
Once the grass is perfectly laid out and trimmed, it’s time to secure the perimeter and all the joins. Use landscaping pins or 150mm long nails along the edges and joins to fasten the edges of the turf to the base.
These nails should be spread about 200-300mm apart. This will prevent any lifting or shifting of your new lawn.
Adding Infill
Infill is crucial for artificial grass installations to support the blades and enhance durability. Let’s look into how you can select and apply infill for optimum performance and longevity of your artificial turf.
Choose the Correct Infill
Selecting the right infill for your artificial grass is essential. It should cater to your needs, whether for play areas, landscaping, or sports facilities.
For residential lawns, silica sand is often the go-to choice because it supports the turf blades well and is cost-effective. If you’re setting up a sports area, rubber granules may be better as they provide extra cushioning. Always consider the intended use of your artificial turf when picking an infill.
Evenly Spread and Brush Infill
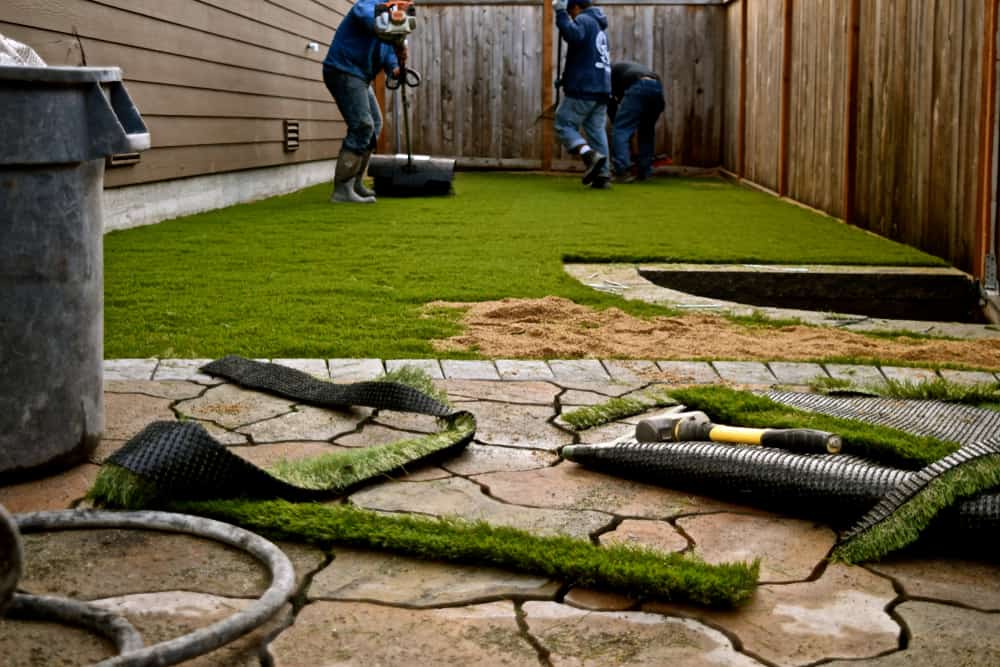
Once you’ve chosen the appropriate infill, it’s time to distribute it evenly across the turf. Start by spreading it in small sections to ensure thorough coverage.
If you already own one, you can use a drop spreader for precise application, but you can get away without one if you want to save on buying the extra piece of equipment.
After spreading the infill, use a stiff-bristled broom or a power brush to work the infill deep into the base of the grass. This helps it stand up straight and maintain its natural look.
Remember, proper brushing ensures that the infill supports the blades effectively and keeps them standing up straight.
Finishing Touches
Once your artificial grass is properly laid out and secured, giving it a polished look is crucial. These final steps will ensure your artificial grass looks great and is ready for use.
Trimming
Gently pull the edges of your grass and use a sharp utility knife to cut away any excess material, ensuring it fits the shape of your space perfectly. Remember to change blades often to maintain a clean cut.
Clean Up
Sweep the entire area with a broom or a garden brush to remove any debris. This will help the grass blades stand straight and give your new lawn a neat and inviting appearance.
Frequently Asked Questions
In this section, you’ll find answers to common queries about laying artificial grass, ensuring you have all the necessary information to get started.
What’s the most affordable method to lay artificial turf?
The most cost-effective way to install artificial grass is to do it yourself. You’ll save on labour costs by following a DIY installation guide and buying materials in bulk where possible.
What materials do you need underneath synthetic turf for proper drainage?
For optimal drainage under your synthetic turf, you’ll need a base layer of crushed rock or gravel and sometimes sand. These materials help with water filtration and prevent pooling on the surface.
Is it possible to lay synthetic grass straight onto soil?
Laying synthetic grass directly on soil isn’t advised because it can lead to uneven surfaces and poor drainage. It’s best to prepare the ground with a sub-base as highlighted in our DIY guide.
What are the key considerations for installing synthetic turf on a concrete surface?
When installing synthetic turf on concrete, ensure the surface is clean, smooth, and has a slight slope for water run-off. Also, consider using a shock-absorbent underlay for comfort and drainage assistance.
Is Artificial Grass Pet Friendly?
Artificial grass is pet-friendly, providing a durable and easy-to-clean surface that’s ideal for play and relaxation. It requires no harmful pesticides or fertilizers and offers good drainage, making it a safe option for pet owners.

